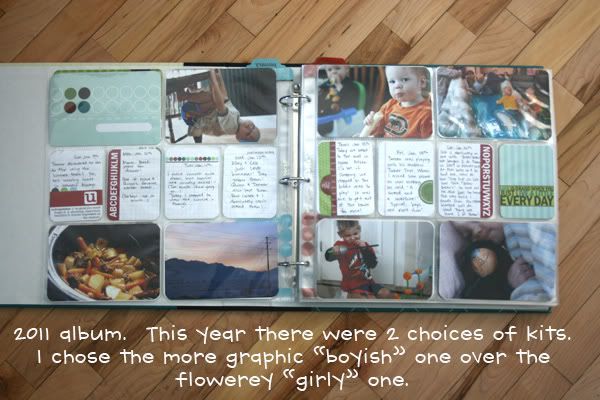
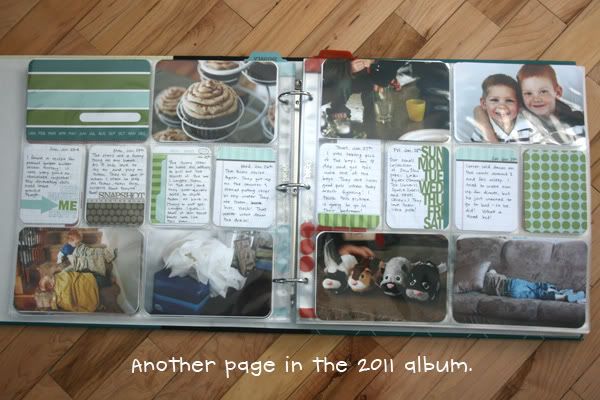
I am SOOO in love!
I am a die-hard scrapbooker. I have been scrapbooking since 1996--just shortly after the hobby of scrapbooking was introduced to the world. My friend introduced me to it, and I have been addicted ever since--I have made too many albums to count. (Well, I could go count them all, but I'm guessing it's around 50.)
Over the years, I have evolved in the way I make my pages--mostly based on the current trends in the hobby.
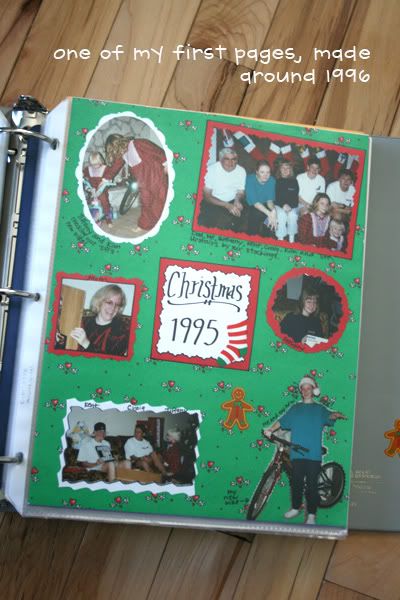
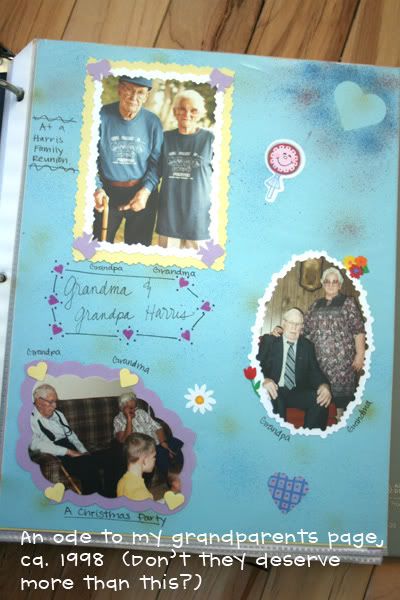
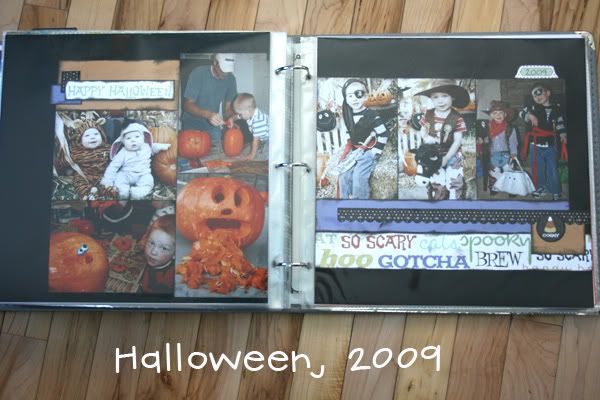
Here is a look at one of the first albums I made:


Yes, we used to cut our pictures into shapes with decorative scissors, and plaster the empty spaces of the page with stickers...ugh...I'm so embarrassed! (But still I'm so glad that I have those pictures and the journaling so I know what was going on.)
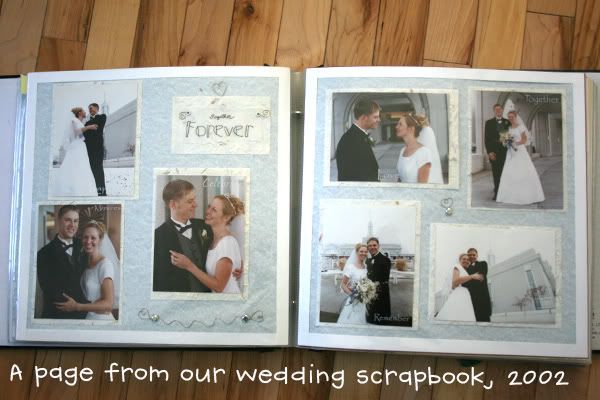
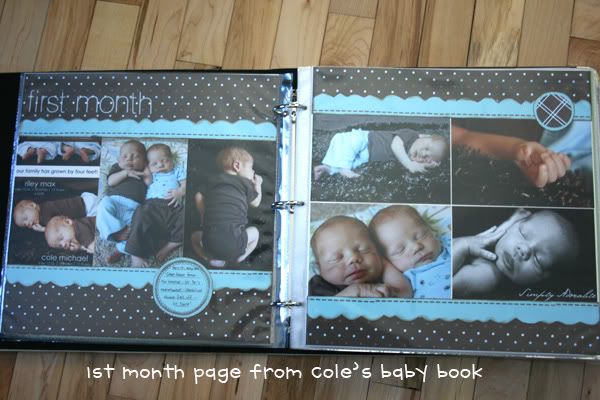
After awhile, it evolved into matting each picture with cardstock, arranging them just so on the page, and adding a few nice embellished touches.


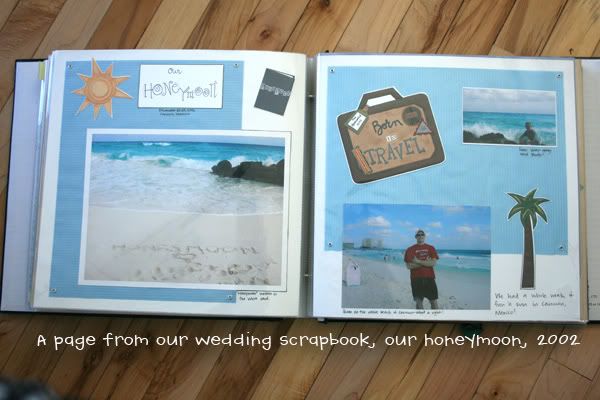
Then trends started going more toward a "clean", minimalist look. Mostly the pictures and a few embellishments. There is also a trend of lots of embellishments and one picture, but that is one trend I never adopted, because I have too many pictures and not enough time to make one picture pages very often. (Though there's nothing wrong with it!)


One thing about all my old scrapbooks though, is that everything in them shows the fun things I/we did. There are no pictures of what my college apartments looked like, or what my house looked like when we first got married. There are no pictures or explanations of what my life was like everyday as a college student, or as a working newlywed. There are no out-of-the-ordinary things about Carter and Tanner's baby-hood. Only the really cute or really funny things. That makes me sad--because even though I thought I'd remember all these things at the time, I don't. And there's no way my kids will ever know either.
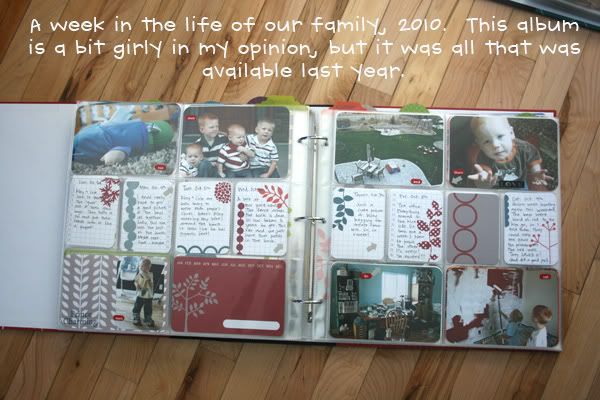
Well, in 2009, I was introduced to something completely new. Project Life. Developed by an old die-hard scrapbooker herself, this is a new way to scrapbook for those who are busy, those who don't know how to scrapbook, or those who just want to capture what life is like everyday.
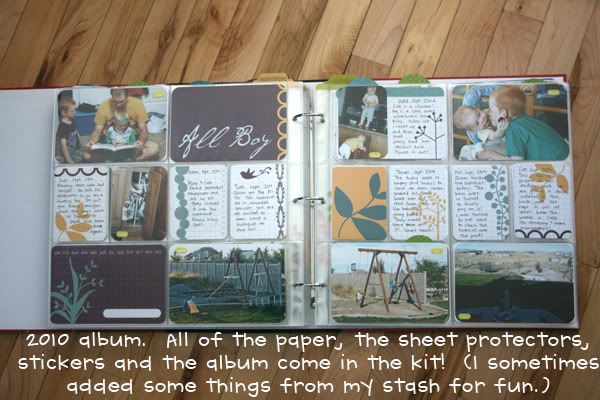
I've completed my 2010 album, and my 2011 album is almost current! The idea is to take one picture everyday of something that happened. It can be something funny, something unique, something embarrassing or even something mundane. I LOVE this concept. As the kids and I have looked back at 2010, there are so many things that I'm glad I've been able to record about our every-day life. I know I'd forget about the little things we do if I didn't get it down! (These pictures and journaling are what makes up "Our Picture of the Day" blog--that's how I know what goes where!)


This is how I scrapbook our family album. I have also been doing some digital and paper scrapbook pages of extra-ordinary things, that I'll put at the back. But only if I feel like it and have some time. Otherwise, this is it on our family album. I'm still making traditional scrapbook pages for the boys for their albums they'll one day inherit. I am way behind on it, but slowly catching up since Project Life doesn't take a ton of time! If a picture a day seems too much, you can always do a monthly layout--find pictures and write journaling for things each month. And, there is also a digital version of P.L.
I am a Project Life convert! Check out the site here! Be sure to read the blog for ideas on other ways to to use P.L. and a special promotion for the digital version right now!
****Alternatives to buying the P.L. kit: *Do this using your current scrapbook stash. (You can buy the page protectors separately.) *Make a digital 2 page layout of every week or month and print off the pages or get them bound in a book from Snapfish, Shutterfly, Walmart, etc. *Do it in blog format and get a blog book done of the year.