A place to share my latest creative pieces. (I know a million bloggers already do this, but I NEEDED a place too!)
Showing posts with label Creating with Paper. Show all posts

5.10.2012

Spring Banner

I have put this blog on the bottom of my to-do list for awhile and have pictures for 4 or 5 posts…I’m slowly going to get them up.

I love having things hanging up on my mantle, and since banners are a hot trend right now, I’ve enjoyed making them since this last fall.  Here’s a look at what I made for spring:

banner 1

I used some more of the pages from the book I used to make the wreath for the main part.  Added a few punched circles and stickers, then simply taped the back of it to some twine.  (Yes, I know, it’s not going to last more than a couple of years, but I really don’t care because by then something else will be trendy.)

Banner 2

To make the other banner, I just went through my yellow, green and blue scrapbook paper scrap stash—to match my pillows.  I used a circle punch and a scallop circle punch, folded them in half and stapled them over some jute.  Easy peasy!

Banner 3

Happy Creating!

4.20.2012

CD Backup Holder

So many times I’ve wanted to have a place to put burned CD’s in my scrapbooks—backups of pictures and digital pages mostly.  Well, I figured out how to store them and I’m going to share it with you today!

CD 3

To make the CD storage, I used a “Design E” page from Becky Higgins.  The pockets are 6x6, so I cut up one 12x12 into 4 squares, then I decorated the bottom two squares.  It would’ve been easier to decorate the page, then cut.  (They’re not perfectly lined up.)  To make the banner on top, I used tacky glue on the outside to hold the twine, then I just cut triangles, inked the edges and used pop-dots to make them stand up. 

CD 2

Then I used found an ugly piece of paper, cut it 6x6 and folded it in half so I knew where the middle was.  I punched a hole in it and used it as a template to punch a hole in each square.  Then I put a brad in it.  This is so that when the album gets turned sideways or upside down, the CD’s don’t fall out! 

Now, this is just so I have easy access to my backed-up files.  I do have another copy in our fire safe.  Just to be extra safe.  I love this though so that I can always get to my files easily if I need to! 

I made this holder to go with my “This Is Me” album.  You can see details of the album in whole here.  Here’s a look at the front page of my album, just so you can see how cute it matches the CD holder!

Cover Page

Supplies Used:
-Design E Page Protectors,
Becky Higgins.
-Paper and brads used for cover page and CD storage, SEI “Winnie’s Walls" collection.
-Twine, The Twinery
-Scallop border punch, Fiskars
-Scallop circle punch, The Paper Studio
-Small circle punch, EK Success
-Flower, Prima
-Crop-a-dile Big Bite (to punch holes for the brads in the bottom CD pockets)

3.29.2012

Cards From the {Ally’s Wonderland} Collection

For my most recent round of card-making, I decided to use a collection of papers for the whole lot.  I had quite a bit of scraps from the Ally’s Wonderland collection by SEI—it’s cute, flowery, colorful and very versatile.

Cards i

To make the paper circle flowers, just punch out four circles the same size, fold two times and adhere to a background.  I used a slightly larger circle on some of them.  Then punch a hole in the middle and secure with a brad.  You can see a side view on the top right.

The bottom row is a bunch of gift tags.  I just cut some scraps 2 inches by 4 inches—these will go nicely with gifts and to just write to and from.  The one on the bottom right, my son made—he was very proud of it!  (There are mostly girls his age around here, so he can use it for the next party he goes to.) 

I used twine on two from the Twinery, card bases and ink from Studio G, and brads and chipboard flower from SEI.  Everything else, unknown.

It was fun to just get out a collection of papers and go to town with it!  As you can see, even though the papers were all the same, you can still make quite the variety of cards with it!  Next round I’m going to be making more boyish cards or birthday cards.  I haven’t quite decided yet….

Happy Creating!

3.28.2012

Using Wedding Announcements to Make Custom Cards

I already posted last year that I love to use wedding announcements to make custom cards to give to the newlyweds.  But I LOVED how this one turned out, so I figured that I’d post it here to share.  This is how the card turned out:

IMG_8097i

This is how it started: 

IMG_8059i

WAAAAY cute announcement, huh? 

I also used some of it on the inside:

IMG_8100i

I hope they love it!

Happy Creating!

My entry into Strut your Stuff sponsored by Appliances Online and the Bosch Washing Machines

3.23.2012

Book Wreath

A few months ago I came across the cutest tutorial for a wreath made from book pages.  It was love at first sight and it’s been on my to-do list since then.  I made a goal a month or two ago to start doing more of those things that I’ve been pinning onto my Pinterest boards, and this project was long overdue! 

Book Wreath

The original tutorial can found here on Living With Lindsay’s blog.  (Such a cute blog full of cute ideas!)

Mine turned out a little differently from hers, but if I’m sure it’s because I rolled my book pages a bit differently.  Because I don’t have tons of uninterrupted time to devote to projects, I stapled the bottoms of my pages as I rolled each one. (After I painted the edges brown.)  I did this in spurts from 2-10 minutes, and I bet it took a little over an hour total to roll my pages. 

Once I had what I thought was a sufficient number, I did the hot gluing all at once.  (And I didn’t paint my green foam wreath either.  I just made sure that it was all covered.)  I started at the back and worked forward as the tutorial suggests.  I did end up rolling about 10 more pages to fill in the gaps—no biggie.

Here’s a couple of close-ups.

Book Wreath 2i   Book Wreath 3i

I love it!

When my hubby saw it, he said, “You ripped up a book?”  He loves books, so I’m sure that was like hitting him in the gut.  This book has been sitting on my bookshelf gathering dust for YEARS…like close to 15.  (Wondering what book it was?  The Chamber, by John Grisham.  When I told him what book it was, he was okay with it.  Winking smile  He’s not a as big of a JG fan as I am.) 

One pinned project down…3,473 and counting to go…! 

Happy Creating!

3.07.2012

Cards (From my Yellow and Green Scrap Stash)

I had another itch to create some more cards this last weekend...mostly because I needed some more and didn't really have any that fit what I needed.  This time I decided to pull out my green and yellow scraps bin and went to work with those colors.  I did pull out a couple more colors here and there with embellishments and other papers.  Once again, they are pretty simple for the most part!

Here's a look at what I did this time:

Just a few notes--the center birthday card has a hole punched out of it as shown.  This is a fun and easy way to decorate the inside of the card as well as the outside!  The pink, green and gray b-day card was made specifically for my niece.  For the most part, I don't make specific themed cards--just cards I can use for any occasion.

The white card bases are from Studio G.  Love them!  The brown was just some cardstock that I folded.  The twine is from the Twinery, brads from SEI, scallop border punch from Fiskars, scallop circle punch from EK Success, circle punch from Paper Studio, heart punch is from Emagination and square punch is from McGill, white paper flowers are from Close to My Heart, ink from Studio G.  The rest...sorry, I don't know...

Another fun thing, is that when I was creating these cards my oldest son came in to see what I was working on.  He wanted to make some cards too!  So he made a thank you card for his aunt and a b-day card for his cousin.
I seriously cracked up when he made the above thank you card--it had the fabric flower, the banner and thank you written on it.  I told him it was great...his response, "It needs some more details, Mom."  I was like, "WHAT?!?"  He must be mine! ;)   This was a few days ago, and he keeps asking me when he can make more cards.  I think I have a mini Tim Holtz on my hands! 
I love that he wants to create with me--he always has from the time he was 2.  He is most definitely creative, but I think I may have had some influence on that.  I think letting kids take over some scissors and glue is not only great for their minds but good for their motor skills too.  It's a win-win! So don't forget to take some time to create with your kids!

 Happy Creating!

2.29.2012

Cards (From My Blue and Purple Scraps Stash)

The other day I had an itch to make some cards.  It's been too long since I've done it!  I used paper scraps for everything but the base of the card.  For this round I raided my blue and purple paper scraps. And since they were all one-of-a-kinds, I wanted to keep track of what I did just for future reference and ideas. 

Now, I think the cards with tons of embellishments are cute, but honestly, I don't have that much time to put into it, so I go for simple and quick.  Enough to tell the recipient that I care enough for them to put some thought into it!


 This one opens up to show the one star on the inside.  I'll probably use some cheesey line like "You're a Star" or "One in a Million". 

Credits:  All card bases and ink are from Studio G (at Walmart)  there's square w/rounded corners, bracket window, and scallop edges already done!  Paper scraps--no idea.  Stamps, ribbon--no idea either.  Twine--Twinery.  Stars--American Crafts. 

Happy Creating!

6.06.2011

“Fill-in” the love!

Here’s another little project I made that could be used with a dry-erase marker.  (Previous one is here.)  It’s a fill in the blank sort of project for my little guys’ room.

may 24i

To it make it, I just typed the message, change the font colors to match their room, and printed it out.  I cut it down to size to fit into and 8x10 frame, and glued it to some cute polka dot paper.  (Martha Stewart).  The other side of the paper had this rainbow-y pattern on it, and both boys wanted that instead…so we compromised and I put a strip of it on.  Not my fave, I wanted the blue border around the whole thing.  Oh well, at least they like it like that!  I had a couple of ugly oak frames in the basement, took the glass out, and spray painted them with 4 coats of bright red. When it was dry, I put the glass in, the paper and then the back back on.

Carter is so thrilled to have his own board to get messages on!  (So is Tanner, but he didn’t want a picture with his.)IMG_3984 i

Here’s a peek at Carter’s board on his wall. 

IMG_3989 i

5.13.2011

It’s a secret…

Have you ever wanted to put a ton of 4x6 photos on one scrapbook layout, and not had enough room?  Well, I have a “secret” place I put my extras which are also easy to see when the layout is in the page protectors. 

Here’s how to add secret photos to your layouts:

1.  Completely make your page(s).  Decide where your secret photos will be located.  I usually put mine toward the bottom, just so the page protector can support it.

2.  Put your photos into 4x6 page protectors.  (I pulled mine out of a 4x6 mini album from SEI.) 

3.  With one picture in a protector, mark on your layout where the secret photos will go.  Punch holes in the paper.

IMG_3510i

4.  Put your layout in the page protector.  Using a marker, mark where the holes in the paper are.  (Note:  use the page protector that you are going to be using in your album—it is NOT easy to change this layout, plus you don’t want to ruin it for another layout.)

IMG_3514i

5.  Pull the page out, then punch holes in the TOP HALF of the page protector ONLY!  You can just shove a brad through the hole, or I used the Silent Setter from Provo Crafts with the small self-sealing mat inside it so as not to go through both sides.

IMG_3517i

6.  Next, put your page back into the page protector. 

7.  Find two cute brads that match your layout.  Put your album in the right order, put one brad in the bottom hole, then through the page protector and paper.  Put your hand inside the back of the page protector and open the brad until it’s flat.  (No picture, sorry, had to use two hands.)

8.  Repeat with the top brad.

9.  Show off your “secret” pictures!  (Side note:  I was thinking that it would be cute to put a strip of paper between the brads for some extra flair!)

IMG_3519i

Because my layout was about the things we did during the Christmas season, I grouped specific things together and added sticker tabs with an index next to it to explain what the pictures were about.

IMG_3523i

This is a look at my layout as a whole.  I try to keep many photo layouts simple.

IMG_3526i

My son looking at the “secret” photos—which are still protected from dirty hands, yet easily accessible!  I love this method, and my kids love their pages with “secret” pictures in them! SmileIMG_3530i

All paper, stickers and embellishments from SEI. 

4.07.2011

Pinwheels

I was needing some spring inspiration around our house, and saw some pinwheels in a magazine. I figured I could easily make them, and thought I’d share it on here.

IMG_1915

First, I found some cute springy double sided paper. I cut it into an 8 inch square, then I lightly folded it into a triangle one way, then the other way.

IMG_1910

This gave me some guides to cut on. Using my cutter, I cut from the outside, leaving about 1” in the center. (It does NOT have to be perfect!)

IMG_1911

Then on one corner of each triangle, I punched a little hole. And one hole in the center.

IMG_1912

I pull each hole to the center hole, put a brad on top and completed the pinwheel! Next, I grabbed some bamboo sticks from the kitchen, and just wrapped the back of the brad around it.

IMG_1913

I adjusted the heights of where to put the pinwheels on the sticks. Then I stuck them in some floral foam in a pot I already had, and topped it with the dreaded Easter grass. Ahh, I think Spring can come now!

IMG_1915

3.15.2011

Scrapbooking Evolution

I am SOOO in love!

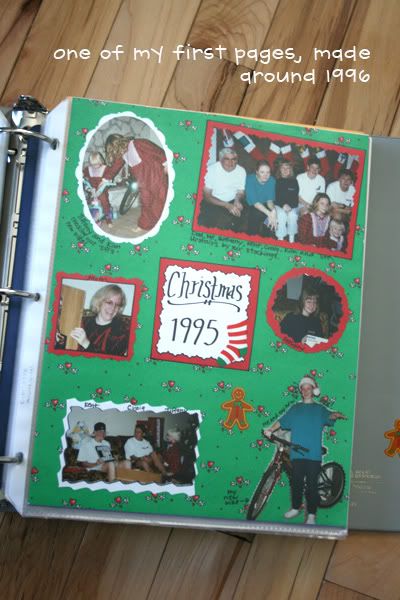
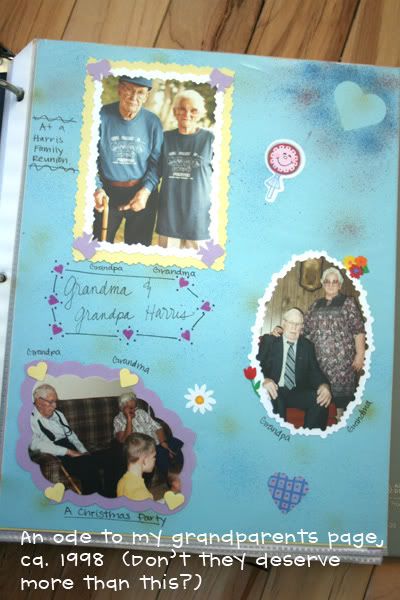
I am a die-hard scrapbooker. I have been scrapbooking since 1996--just shortly after the hobby of scrapbooking was introduced to the world. My friend introduced me to it, and I have been addicted ever since--I have made too many albums to count. (Well, I could go count them all, but I'm guessing it's around 50.)

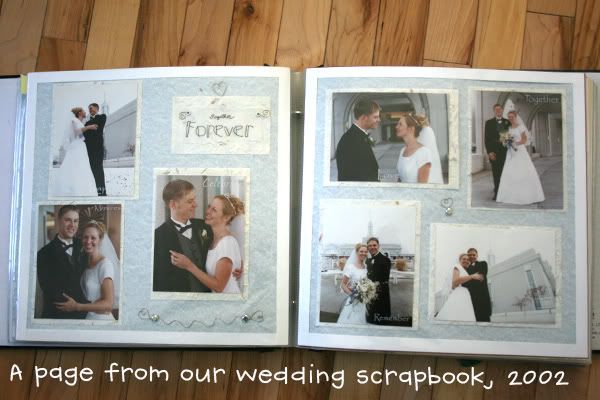
Over the years, I have evolved in the way I make my pages--mostly based on the current trends in the hobby.

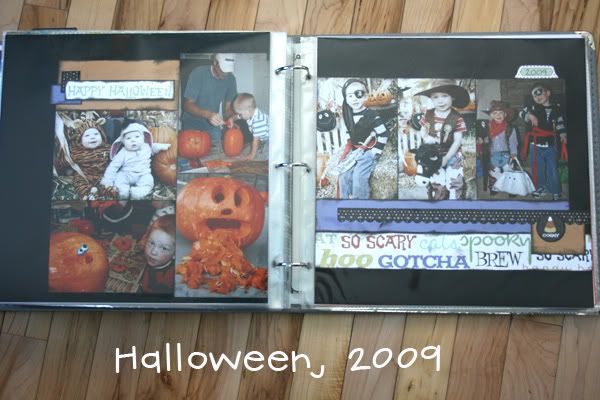
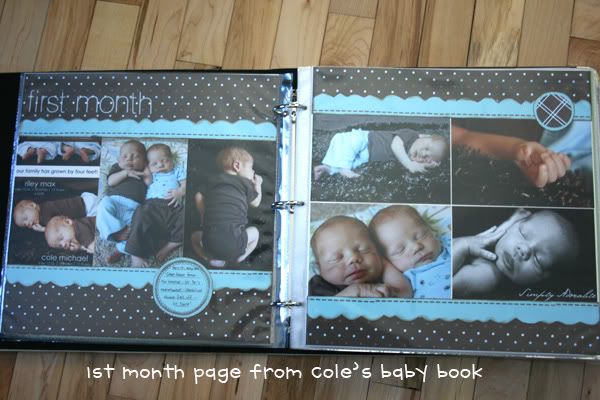
Here is a look at one of the first albums I made:

Yes, we used to cut our pictures into shapes with decorative scissors, and plaster the empty spaces of the page with stickers...ugh...I'm so embarrassed! (But still I'm so glad that I have those pictures and the journaling so I know what was going on.)


After awhile, it evolved into matting each picture with cardstock, arranging them just so on the page, and adding a few nice embellished touches.

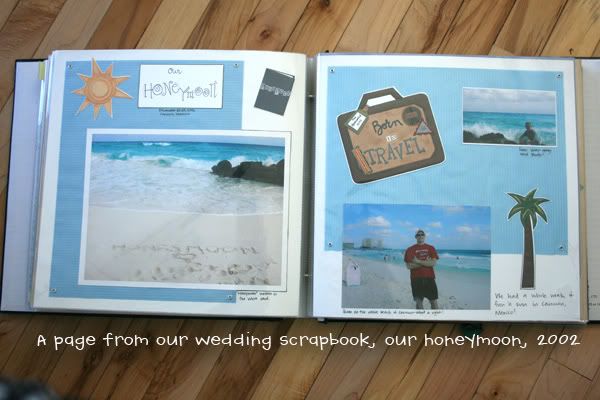
Then trends started going more toward a "clean", minimalist look. Mostly the pictures and a few embellishments. There is also a trend of lots of embellishments and one picture, but that is one trend I never adopted, because I have too many pictures and not enough time to make one picture pages very often. (Though there's nothing wrong with it!)


One thing about all my old scrapbooks though, is that everything in them shows the fun things I/we did. There are no pictures of what my college apartments looked like, or what my house looked like when we first got married. There are no pictures or explanations of what my life was like everyday as a college student, or as a working newlywed. There are no out-of-the-ordinary things about Carter and Tanner's baby-hood. Only the really cute or really funny things. That makes me sad--because even though I thought I'd remember all these things at the time, I don't. And there's no way my kids will ever know either.


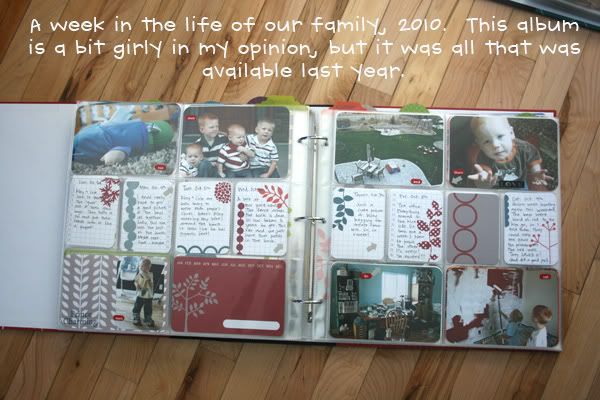
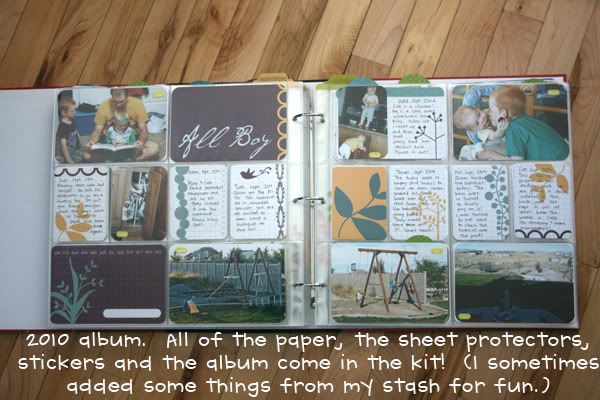
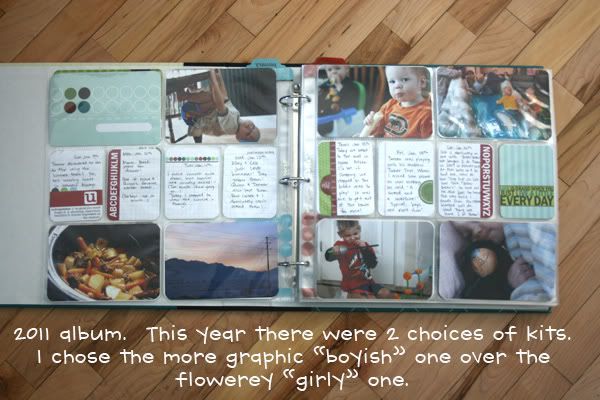
Well, in 2009, I was introduced to something completely new. Project Life. Developed by an old die-hard scrapbooker herself, this is a new way to scrapbook for those who are busy, those who don't know how to scrapbook, or those who just want to capture what life is like everyday.

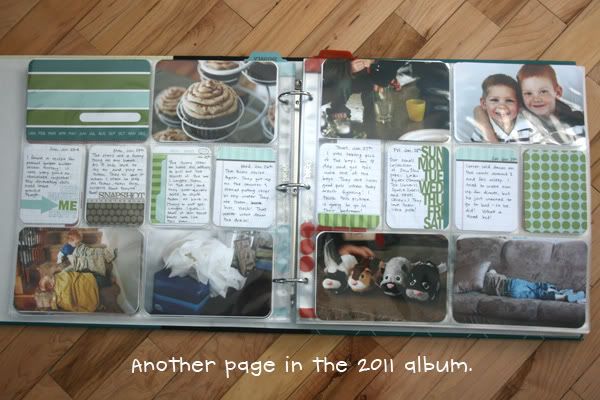
I've completed my 2010 album, and my 2011 album is almost current! The idea is to take one picture everyday of something that happened. It can be something funny, something unique, something embarrassing or even something mundane. I LOVE this concept. As the kids and I have looked back at 2010, there are so many things that I'm glad I've been able to record about our every-day life. I know I'd forget about the little things we do if I didn't get it down! (These pictures and journaling are what makes up "Our Picture of the Day" blog--that's how I know what goes where!)

This is how I scrapbook our family album. I have also been doing some digital and paper scrapbook pages of extra-ordinary things, that I'll put at the back. But only if I feel like it and have some time. Otherwise, this is it on our family album. I'm still making traditional scrapbook pages for the boys for their albums they'll one day inherit. I am way behind on it, but slowly catching up since Project Life doesn't take a ton of time! If a picture a day seems too much, you can always do a monthly layout--find pictures and write journaling for things each month. And, there is also a digital version of P.L.

I am a Project Life convert! Check out the site here! Be sure to read the blog for ideas on other ways to to use P.L. and a special promotion for the digital version right now!


****Alternatives to buying the P.L. kit: *Do this using your current scrapbook stash. (You can buy the page protectors separately.) *Make a digital 2 page layout of every week or month and print off the pages or get them bound in a book from Snapfish, Shutterfly, Walmart, etc. *Do it in blog format and get a blog book done of the year.

Related Posts Plugin for WordPress, Blogger...