A place to share my latest creative pieces. (I know a million bloggers already do this, but I NEEDED a place too!)
Showing posts with label Creating in the Kitchen. Show all posts

4.11.2012

Buttermilk Pancakes and Syrup

I devoured my first buttermilk pancakes and syrup about 4 years ago at Girl’s Camp.  I’d never had them before, and when I saw the syrup I really didn’t even want to try it.  But I did.  And I LOVED it! 

Pancakes 2

My family also shares the love of buttermilk pancakes and syrup, so the other night I made some for dinner.  (We like breakfast dinner, don’t you?) 

pancakes 1

Yum, yum, yum, yum!  All the way down to the last drop!  Smile

Here are the recipes:

Buttermilk Pancakes

4 c flour (I use 2 c wheat flour and 2 c white flour)
2 1/2 t baking soda
1 1/2 t baking powder
2 t salt
4 eggs
1/2 c melted butter
4-5 c buttermilk
Mix together all the dry ingredients, then add the wet ingredients stirring until just moistened.  You can thin the batter with more buttermilk if desired.  Makes 24 large pancakes or 36 medium ones.

Buttermilk Syrup

1/2 c buttermilk
3/4 c sugar
1 c butter
Boil for 1 minute and then add 1 t vanilla and 1/2 t baking soda.

It looks like this.

pancakes 4

See that foam way up to the top of the pan?  It will rise all the way up there as soon as you add the baking soda, so make sure it’s a large pan!

I used to go buy buttermilk each time I wanted to make this, then found this one day in the flour/sugar isle.

pancakes 3

It is much cheaper, though you have to whisk a little bit harder to make sure there are no lumps.   As far as taste, I can’t tell much of a difference.  Follow the measuring directions on the back of the can.

Now, go try some of these delicious culinary creations! 

Happy Creating!

3.18.2012

St. Patty’s Day Pudding Parfaits

A few years ago, my son and I came up with this little treat a few days before St. Patrick’s, and have tried to make it one of our annual traditions. 

St Patty's Parfaits

These little parfaits are yummy and quite easy to make!  I didn’t take any pictures along the way (my hands were a little busy trying to keep 4 young boys from eating too much in the process Winking smile). 

What you’ll need:

Cool Mint Oreos”
One box of pistachio instant pudding  (if you don’t like pistachio flavor, try vanilla with green food coloring)
One box of chocolate instant pudding
Rainbow sprinkles
Whipped cream (which I forgot to buy, so it’s not in the picture)

What to do:

Find glasses or cups to put your parfaits in
Crush 10-15 Oreos
Make puddings
Make your parfaits: A layer of crushed Oreos, pistachio pudding, chocolate pudding.  Do this twice.  On the top layer, add your whipped cream, one Oreo and some rainbow sprinkles.  Let them set up in the fridge for about an hour before eating. 
Enjoy!

Here’s a look at the layers.

parfaits 2

Mmmm….so yummy!

And just for fun, this is what we make every year for dinner—ham and cheese quiche, dyed green.  (Like green eggs and ham!)  Then we add whatever green stuff we happen to have.  I did add stuff to my salad after I took the picture. 

Green Dinner


Happy Creating!

3.16.2011

Drinking a Rainbow!

I thought this would be a fun thing to do with the kiddos for St. Patty's Day tomorrow...

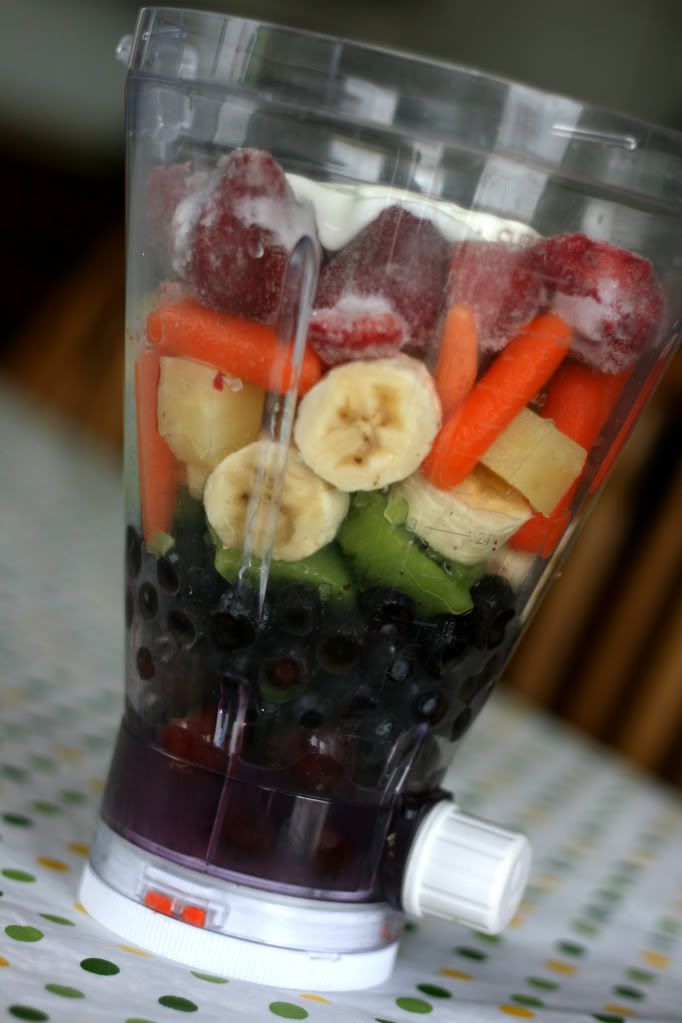
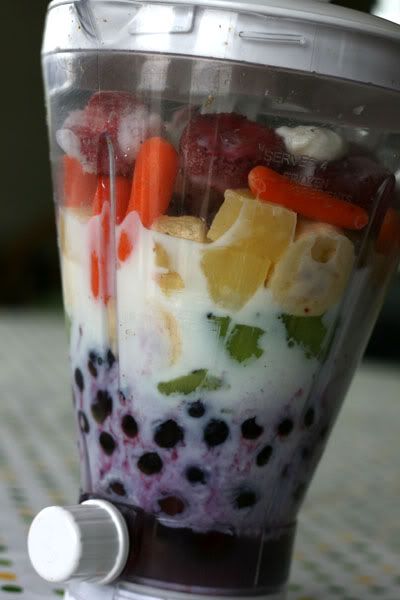
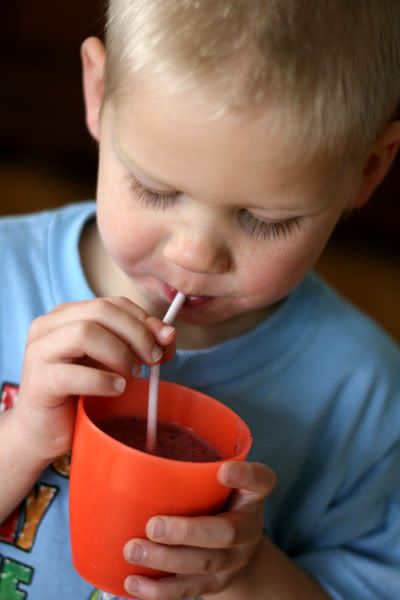
We LOVE smoothies at our house, and the other day, I invented "Rainbow Smoothies" for the kiddos. (I've been trying to get them to eat healthier, and have been creating fun ways for them to do so.)
I had the kiddos pick out fruits and veggies from each of the rainbow colors, then we put them in the smoothie maker pitcher in reverse order. Here's our mix: purple--grapes (a handful), blue--blueberries (a handful), green--kiwis (2), yellow--bananas (1) and pineapple (1/3 of a can), orange--carrots (a handful of mini ones), red--strawberries (about 2 cups). We then added some "clouds"--vanilla yogurt (3 large spoonfuls) and milk (about a cup). Blend it all together really well, and enjoy!
Since we make smoothies a lot, I've learned a few tricks:
1. Pineapple is THE magic ingredient. I stock up on canned pineapple, and use about 1/3 of the fruit and juice in a smoothie. I put the rest in a plastic container in the fridge for later.
2. When using veggies, be sure to use pineapple! (Or even some frozen juice concentrate.) It helps to make up in sweetness for what the veggies lack. Some good veggies in smoothies: tomatoes (okay, so they are REALLY a fruit), spinach, carrots, celery (chop it small against the grain or you will have long "threads", cucumbers, and squash. Remember to not use too much of one veggie, or it won't taste good.
3. Children will NOT drink a bland smoothie! (It has to be sweet!) You can always add some sugar to it if it's not sweet enough. I've done that PLENTY of times! :P
4. Use a mix of frozen and fresh or canned. Using some frozen veggies gives you the thicker texture you've come to expect from a smoothie. You can save time by just buying frozen, or you can freeze most fresh fruits to use in smoothies. (Most don't look very good after freezing, which is why it's okay to put in a smoothie.) If you don't have frozen fruit, use about 2 cups of crushed ice.
5. You DON'T have to measure accurately every time. It kind of makes it fun to taste the different combinations!
6. Add in some flax seed or wheat germ for some extra healthy benefits! (I forgot to this time, but was thinking you could add some in and call it leprechaun gold!)
7. Involve the kiddos! Have them choose what to put in, and let help cut up some of the softer fruits (bananas, kiwi, etc.) with a table knife. They can also push the button on the blender. Children are more excited to eat something they've helped make!
Bon Apetite!
Related Posts Plugin for WordPress, Blogger...